
Improvisation : DIY Chalkboard Lettering Process

Done is better than perfect.
There. I said it.
This is exactly what you need to tell yourself when you have so many things to do and not enough time to give it all the attention you would like.
Another good one is “Do your best and forget the rest.”
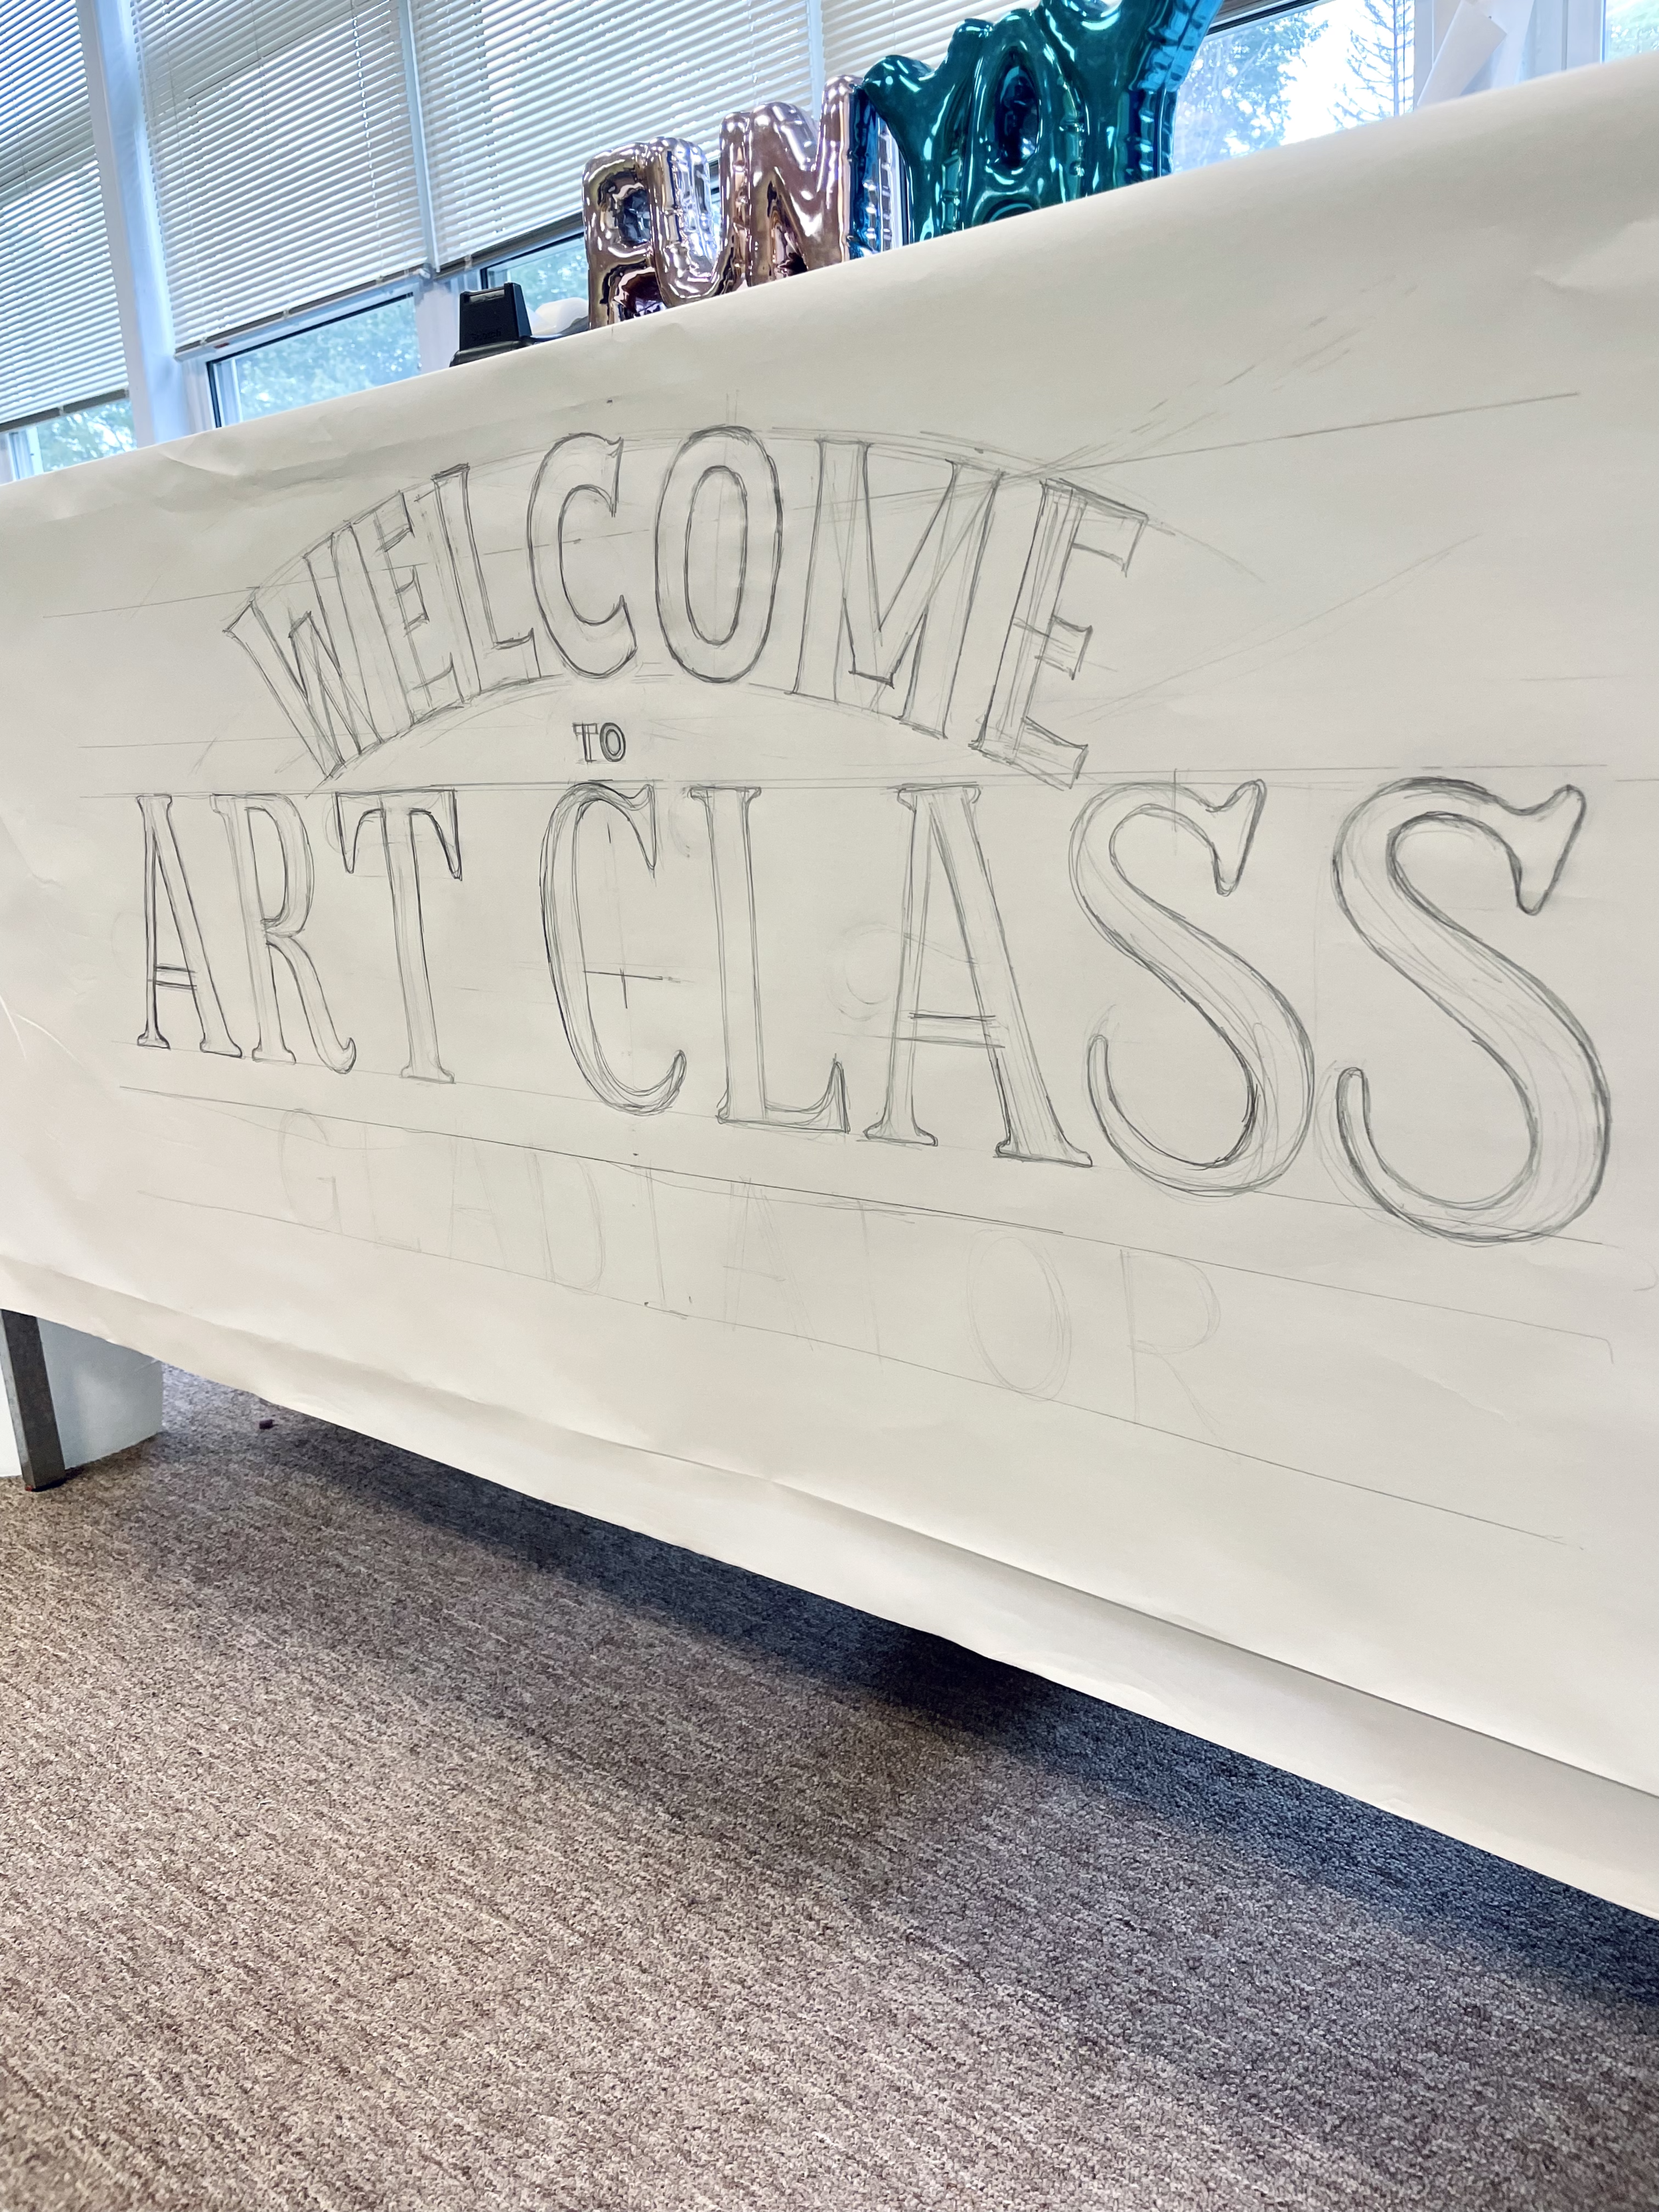
Case in point…the students are back in school and I was still working on lettering my welcome message for the first week.
If you remember last year’s message, it was on a sandwich chalkboard. I did the original drawing on the iPad, then used a projector to get it transferred to the chalkboard. I also used it to teach them about mock-ups and the thin line between natural and digital media.
This year, I have to keep my load a little lighter as I nurse my back back to its at least pre-pandemic state (which wasn’t that great to begin with). So, since I had some chalkboard paint left from last year’s chalkboard bulletin board, I decided to use something that was already in my classroom instead. My desk.
Classroom equipment for smaller, public schools usually doesn’t get updated every year. You can see from this desk that it has definitely seen better days. I wasn’t completely sure of the policy for what one of my team member’s called “vandalizing” school furniture 😬. But, I was pretty sure I could get away with it this time. If not, my plan, if confronted by my supervisor, the school principal, was to feign ignorance, gasp and exclaim as loudly and dramatically as possible, “Oh my God! Someone painted my desk?!”

It would buy me some time before he got to the cameras to make a quick exit anyway.
But, in the meantime, using the desk for a DIY chalkboard project seemed to be a way to beautify it, welcome my students, and save the rest of my back all at one time. Win, win, and win!
I’ve been sharing the process, as usual, in parts in my IG Stories. To see the abbreviated, full process, skip to the video at the end.
Prepping the Surface for Chalkboard Paint
For this desk, I sanded it a little before I started since it had all kinds of stuff on it from yester years. Then, I coated it with some Krylon Chalkboard Paint with a roller. If I had the time, I would’ve added at least one more coat. But, this stuff takes four days to cure as it is. If you have more time, I’d say, go for it.
Transferring the Drawing to the DIY Chalkboard
If you’ve been following along, you know that I hit a snag since the school projector wasn’t working. My personal one at home does. But, again, I’m trying to lighten my load these days.
You know, there are times less is less in a school. Students have to have certain items in schools to be able to succeed and schools need money and great financial stewards for that. But, the best thing about being a smaller school and not having every single thing at your fingertips means that you have to be creative to solve problems…and at an arts integration school, there’s nothing wrong with that.
Since I couldn’t use the projector, I had to improvise, I felt a little like David who hadn’t tested Saul’s tools for this battle. But, I went ahead and tried a hybrid.
I wasn’t comfortable trying to scale up my original drawing without taking an extra day to do a grid…and an extra day was just not in my schedule nor my window of attention span for something like this. I am the Queen of the Mini-Project…Emphasis on Mini. A week for this was all I was going to give it…and for my schedule, even that’s pushing it. So, in the end, I did a chalk transfer of a freehand drawing.
3 Ways to Complete a Chalkboard Drawing
For those that don’t know, there are multiple ways to complete a chalkboard drawing:
Freehand your drawing being careful of the center of the board, working at eye-level as much as possible, and stepping back often for perspective.
Use a projector to project a drawing larger onto your surface and trace to your hearts content.
Transfer a drawing by rubbing chalk on the opposite side of your drawing. Then, flip the drawing back over, lay your drawing over your chosen surface and trace over your original drawing onto the surface. This simultaneously transfers the chalk to the surface.
My Results
Below, you can see what I wanted versus what I got…


The first photo is a mock up using a photo of my actual desk and a stretched out digital drawing I made on the iPad of what I wanted. Fancy.
The bottom photos are the actual desk with the initial draft done on some newsprint…and then the completed desk. In the video, you can see where I had to flip it and add chalk to the back before transferring.
I actually think it came out nicely for my first crack at chalk transferring. But, I have learned that there are some pros and cons to each of these methods…
Pros and Cons to Chalkboard Drawing/Transfer Methods
Freehand probably takes the longest for me when I have to do all the measuring on the spot and make it up as I go. Centering a composition for me with the eyes I have now isn’t the easiest thing in the world. So, I have to use other tools like tape, string, etc. That’s not so bad. It will just eat up time. Freehand will likely be the more lively of the methods since it’s spontaneous. But, I also am more reluctant to get quite as fancy as I might if I get the opportunity to draw and think it out on paper first.
The projector is likely the easiest and fastest of all these methods. I love it because how much time does a teacher typically have in a day? Don’t answer that. At any rate, it’s likely the neatest to since you’re tracing directly from the visible lines. However, it can be a little less spontaneous looking in my opinion since everything is already thought out. Also, if you move the projector one millimeter, look out.
Chalk transfers are easy since it’s another tracing. It can be as fancy as your drawing. It takes a little longer than just projecting the image. It’s also a little messier than projecting since the stray chalk on the backside of the paper tends to rub off on the surface as you’re tracing. But, as you can see, when all else fails, it still works!
So, all appears to be well that ends well…with this at least. If I had to tell you about the other details of my week, we’d need a couple glasses of wine and a large cheesecake.
Back to school…Week one down.
