Wood Burning On What? Unusual Activations You Haven’t Seen Yet
It was a surprise to me too.
I thought I had seen what all I could do with my wood burners. Wood burning, foiling, leather debossing…you get the idea. But, after my experience with Ugg, I decided I’d dig a little deeper just to be sure there wasn’t anything more to know.
I think I could have been a scientist if my mom hadn’t stopped me from mixing up all the household cleaners that one time…
I assure you, my experiments are much safer these days. But I digress.
Since then, my husband has been hype about me burning his winter boots too and I’m all for it. But, it also made me think that I need to be sure I understand not just how to make things look pretty, but what all these tips were for, how to stay safe burning, etc.
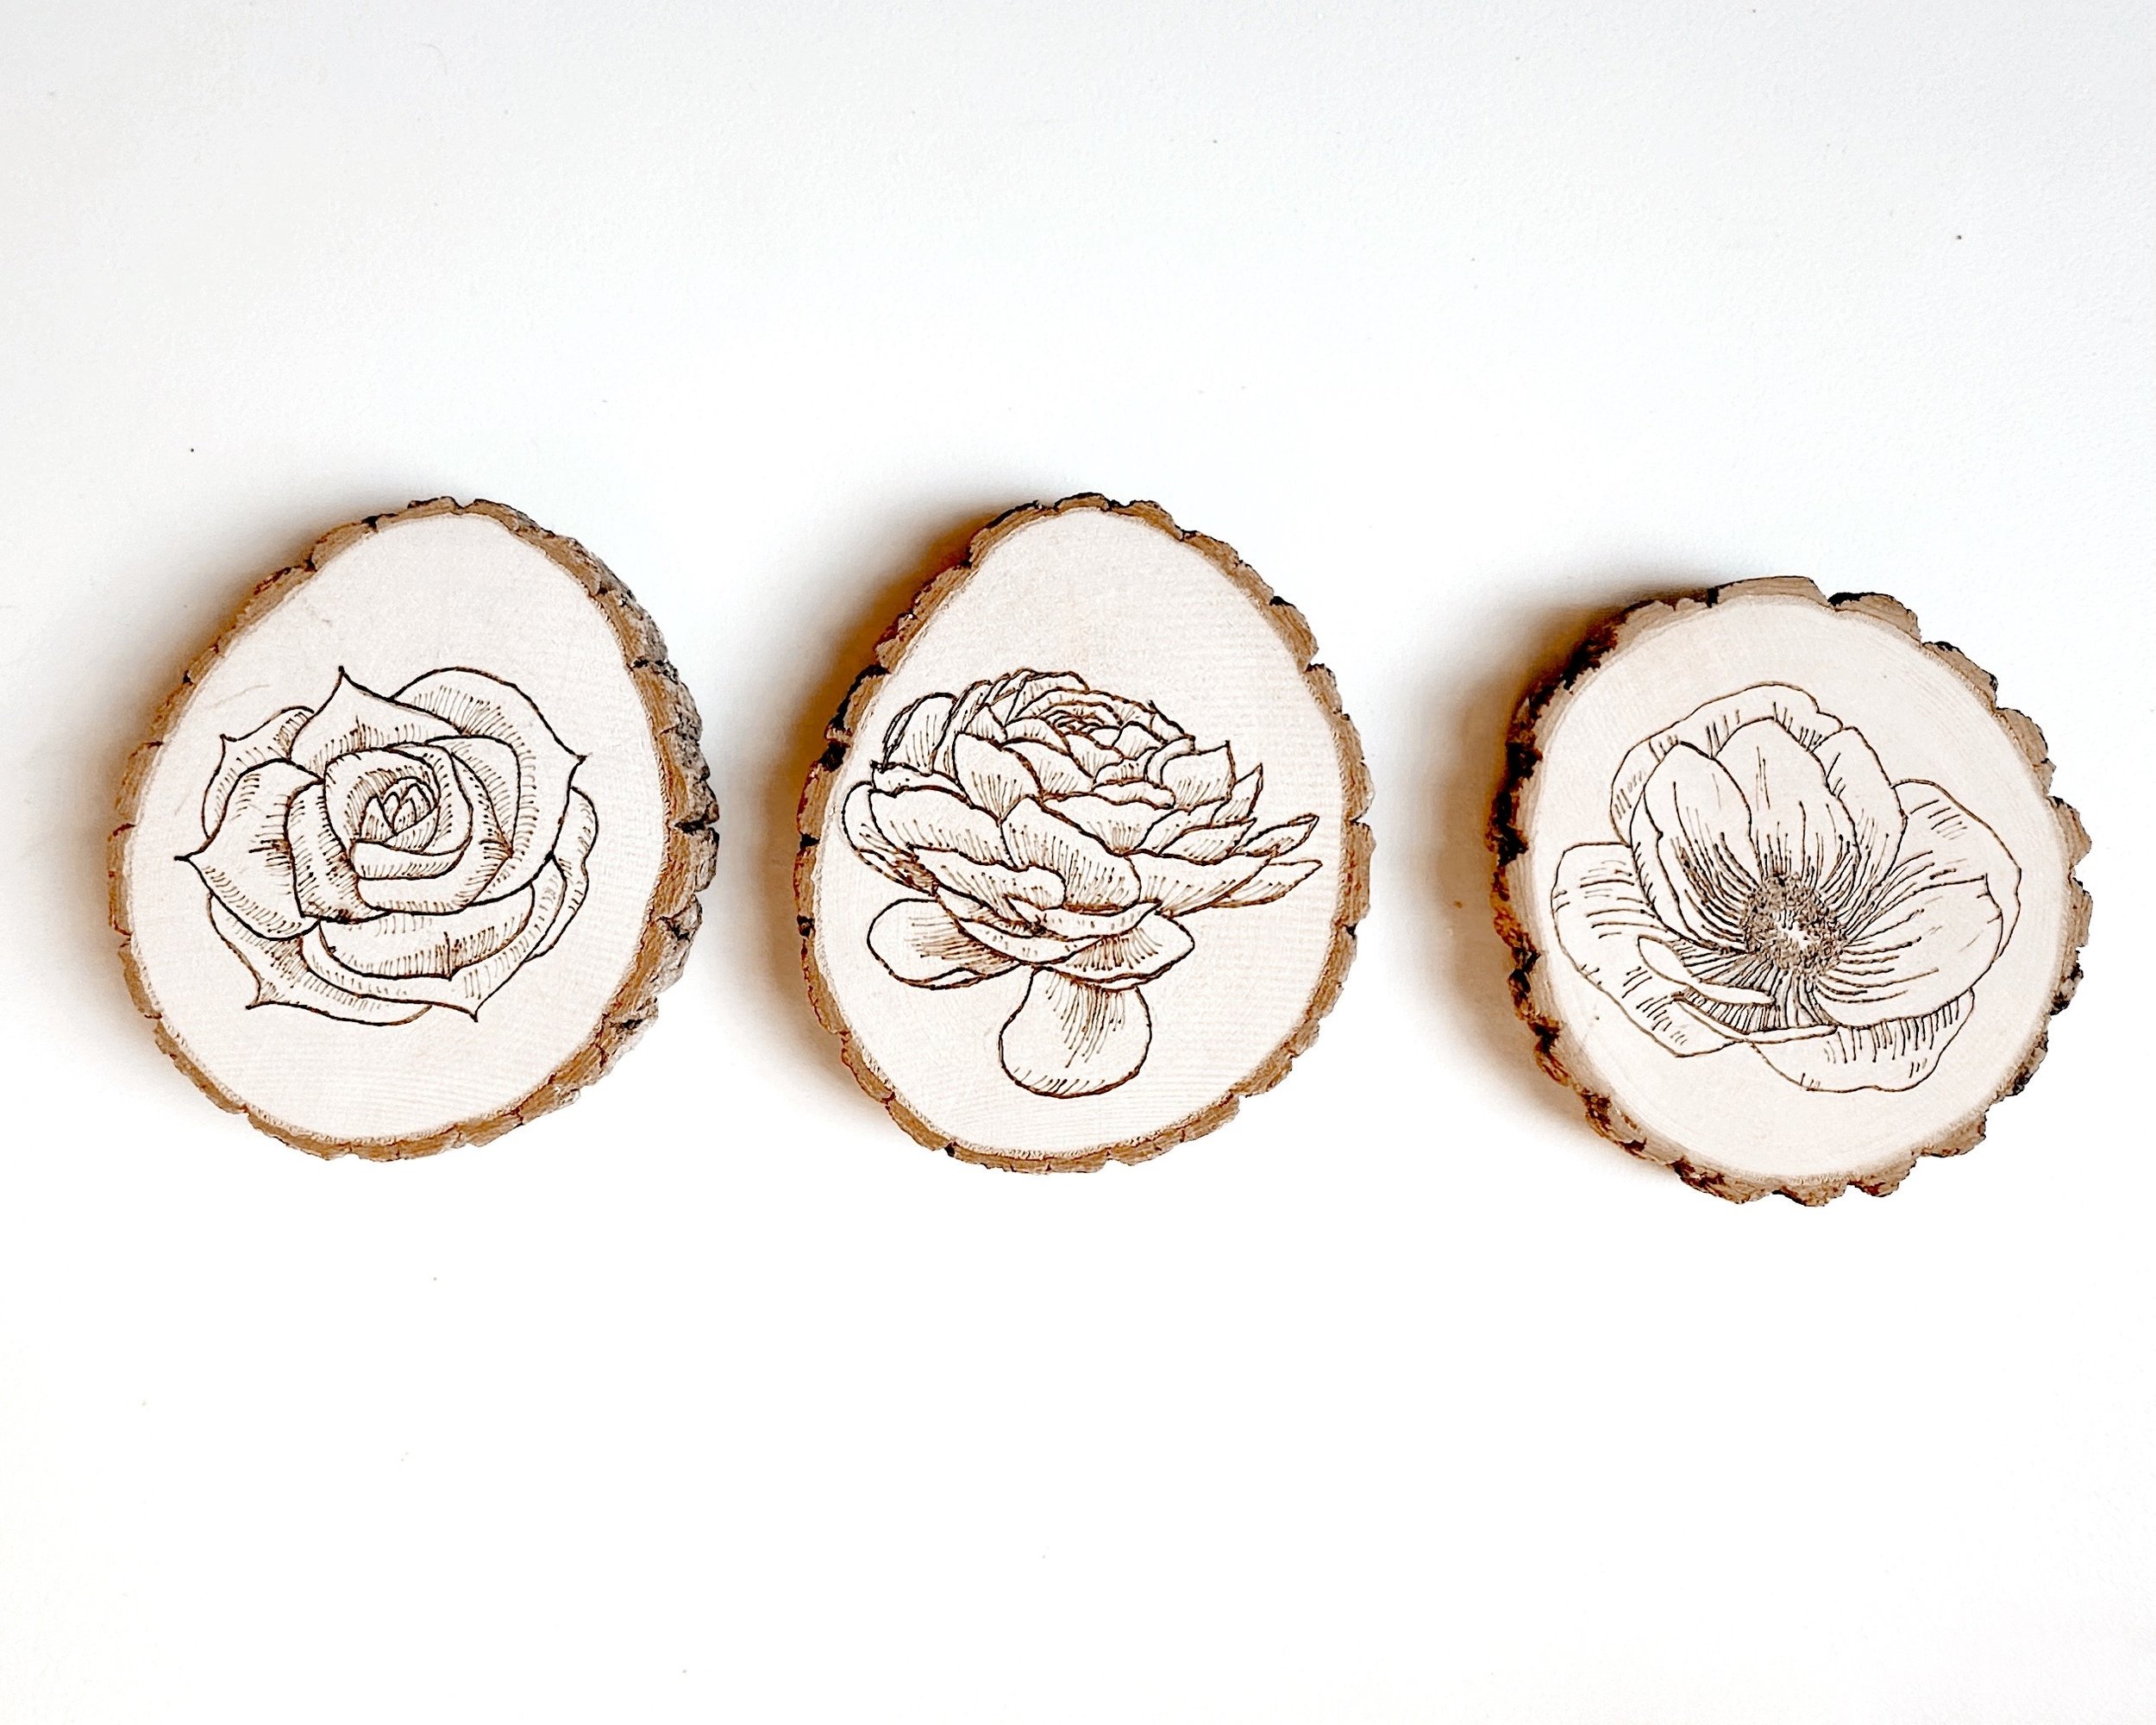
First, I had not done much with wood at all. I initially bought my burners to do heat foiling. I still had the wood slices that came with my Colwood Wood Burn Kit a year or so ago. So I started with those. And I figured, since I was only getting reacquainted with graphite sheets and practicing technique, I would use some florals from How to Draw Modern Florals by Alli Koch and a peony in the Foundations of Floral Engraving, a course by Jodi (one half of Someday Art Club). Quick to get started and beautiful stuff! I could give these away as gifts!
This weekend, that book in the photo above really stood out for me. It’s called The Wood Burn Book by Rachel Strauss of Wood Burn Corner.
I really enjoyed how modern the projects looked on the cover. This beautiful lemon design below came from it!
But, that still didn’t prepare me for some of the projects inside. 😍 And while I haven’t tested them all, there are a few unusual surfaces in the book that are worth sharing.
Pyrography on Canvas
Can you believe this?! I’ve done customizations with canvas and marker before. But, I certainly had no idea that a burner could be used on canvas! Yet, sure enough, in the book, there was the cutest wood burn project using a canvas backpack. Later, I also found this on IG by Erica Harrington Art. You’re welcome. 😊
As for me, I decided to try wood burning on an old canvas tote that I had that I practiced on with marker the year before (shown above). I followed the directions except for the pattern itself. I had to wash it first which meant I finally got to find out if most of the marker washed out in the laundry machine. It did. After the wash, the marker was very faint in most areas, partly visible in others, and effectively ruined overall. Undaunted, I used a space on the back for practicing my wood burn on canvas. I drafted in marker and then burned over it. I wiped the marker off afterward. I could still see a little of the marker when I was done.
But, I loved it! While wood burning can fade over time without a varnish, I wonder what will happen to a burned fabric like canvas. I threw it in this week’s laundry. I can’t wait to see when this comes out the wash!
But, I was still curious to see if it would work on a branded bag that I had not washed first or that was dyed, etc.
Obviously, more reconnaissance was needed.
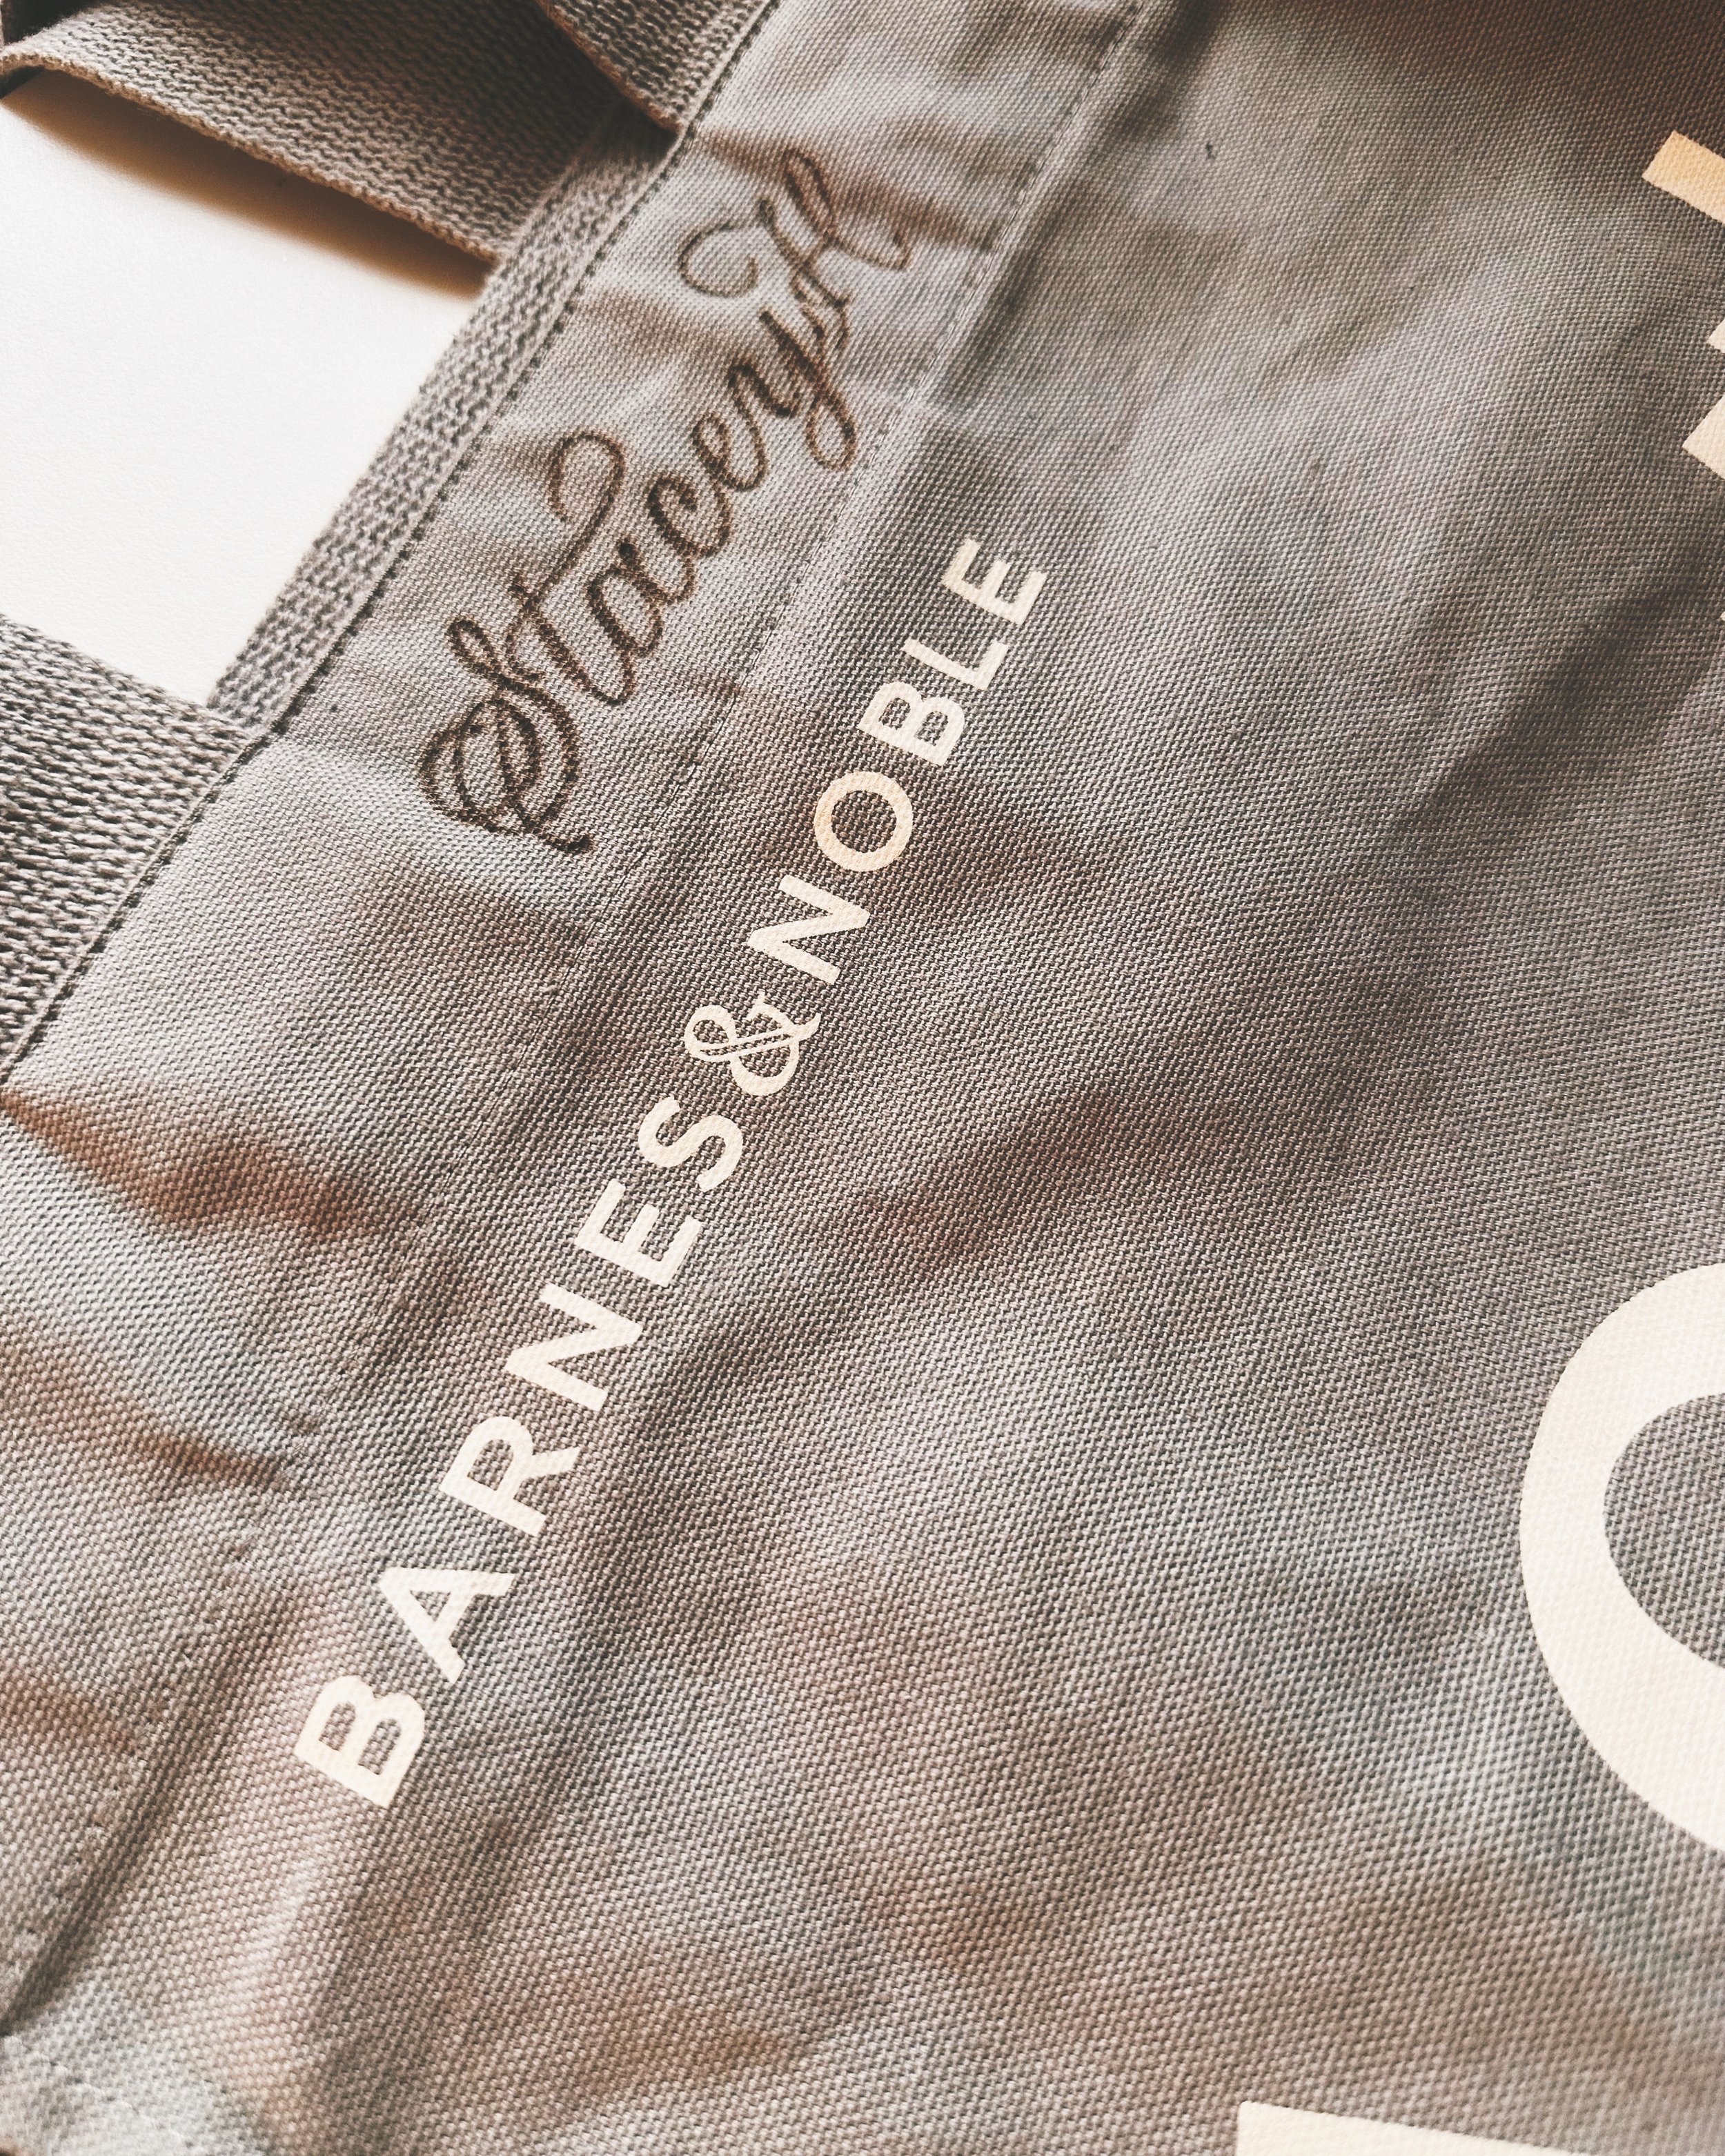
I had a grey Barnes & Nobles Canvas Tote that I wasn’t using (I’m currently using the rusted orange one 💅🏽). So I tried it out!
Well, would you look at that! It worked!
Now, I liked using a pencil to draft this time rather than a water-soluble marker. Not sure mistakes would come out as easily. But, I was just more comfortable with it. I also assume if this were done for an activation, it would be preferable to a dampened bag. Also, the burn came out a dark brown color and I think that’s more suitable for more natural-colored canvases. That made me think it’d be perfect for companies that have natural, eco-friendly canvas totes as one of their featured items or even my orange Barnes & Noble tote. Either way, it’s a wonderful new way of using this tool and I shall keep it.
Watercolor on Wood
Watercolor on wood? Yes, please!
In the book, I also found some projects where the author had incorporated watercolor. 🤯 I’m sure it’s not the only book that does it. It’s just the first one I saw that does it. Check this out!
On a humbug, I flipped over the wood slice and remixed my first try of the lemon template by a different nib on the Walnut Hollow Versa-Tool (more on that later). I really liked the second version much better with it’s bolder lines.
Then, I figured why not try another method in the book: watercolor! For all my painters out there who also like to burn, you’ve definitely got to try it!
More Ways to Use Your Burner
I’m a weekend warrior. But even I can’t try every surface and every project in one weekend. So, I’m sharing some work by some calligrafriends (with their permission), to show some possibilities you need to see.
Consider them when making gifts this holiday season or pitching for your next unique activation!
Pyrography on Cork
I have yet to see cork coaster burning come to my area. But, these look like great activations for beverage companies for an added touch of customization for guests. Jill also did a cork coaster activation at an awards gala this past summer. If you take a scroll through Jill’s IG feed, you’ll see some burning on everything from boots to ten gallon hats! Nice, right? 🔥
Here in the First State, I wanted to try it out. So, I decided to try wood burning on my cork yoga blocks.
It was so easy to burn this! Definitely not much complexity…No draft or forethought. And I finished this in under an hour. Great gift idea for this holiday season!
Pyrography on Charcuterie/Cutting Boards
Okay. You might have seen these before. But, you probably haven’t seen any as beautiful. 😍
This charcuterie board is by Marie of Maiden September and it’s completely gorgeous! A perfect activation for stores selling home decor and such. Can you imagine burning monograms or some sweet, little holly leaves on these during a holiday event? 😍
Which Burner Should You Get?
Good question! What’s your commitment level?
For those just dipping their toes in, I like the Walnut Hollow Creative Versa-Tool. It is a solid-tip burner suggested in many pyrography books for first timers. It can be found in any well-stocked local craft store, is widely used, and despite its girth, it works really well. It’s the burner that gave me that smooth, bold line for the second version of the lemon tree and the yoga blocks. 😎 It has a basic dial for adjusting the heat setting and a convenient plastic storage box. It also has a rest to put the pen on while hot. Note that the rest needs to be taped to the table to secure it. I think it’s great for pro use as it’s easy to travel with. But, the cord is shorter than my pro burner cords and I find it easily slips off the table from where I plug it in, so I have to be more careful about where I work. Still, it can do pretty much everything the pro-burners can do, except heat up and cool off quickly, all without the hefty price tag.
A pro burner is for the fully invested. The sticker price is much higher than the Versa-Tool. There’s typically an ample selection of interchangeable nibs to work with as well. Pro burners heat up quickly and usually have a more accurate way to dial up the temperature using numbered dials, digital displays, etc. The pens are very easy to write with since they tend to be on the thinner side and closer to what an everyday writing utensil would feel like. Also, their tips are more often wiry rather than solid. However, the units are not as easy to transport since they have bulky consoles. Some come with convenient cases. For those that don’t, you may have to get creative keeping your pen safe during transport. You can see a comparison of the two I have here. Also, note that for some calligraphic uses like foiling, you may have to adjust the lowest heat level of some burners for successful projects. I had to open up the Colburn to adjust the temperature settings as its lowest setting right out of the box burned straight through my foil.
Better Burns
Getting better is, of course, a matter of practice because not all of it is innate. Here are some of the best tips I’ve collected, in no particular order:
Pull the tip rather than push it on the surface for cleaner lines. That said, sometimes you may need to turn your surface to get a good line, even while pulling.
Don’t press harder. It doesn’t work. Burn slower or use higher heat.
Swooping in to create a mark or line rather than using a touch down and drag motion will help you to avoid burning unwanted holes into the surface.
Sand wood before burning. Use a fine, 220 grit sandpaper.
If burning wood, make sure it’s safe to burn. Avoid those that have been treated with varnishes and chemicals.
Drawing techniques like hatching, cross hatching, stippling and scumbling still work for wood burning.
Gently clean the tips of your tool with a steel brush or wet sponge while it’s hot to keep making clean lines. There are more involved methods for when the tips are cool like leather strops and white oxide powder.
Practice safety every single time!
That’s all I got. But there are tons of videos on Youtube to learn more.
Safe Wood Burning Tips for Calligraphers
I’d be remiss to suggest that anyone try these as activations or even for fun without mentioning safety.
There are certain things you should have on hand with these tools. Understandably, this can be a touchy subject for some because in this business, aesthetics is important…Except when it comes to your health.
Masks and eyewear are non-negotiables. And the masks are the ugly kind too, y’all, with the little plastic caps in them and everything. Wear it anyway. Smoke in your lungs and damage to your eyes is not a flex. Just try to find one that’s all black and is a P95 rated mask or higher. I have eyeglasses and a pair of goggles I use for engraving. But I intend to purchase goggles specifically for these devices.
Burning on canvas requires high heat for me. For that level of heat, my hands need heat resistant gloves. Have some on hand for when you need to use a higher heat level.
Use a fan. You can buy a small one for activations. Blow the smoke away from your face. Also, according to this book, there are fume extractors you can purchase to draw the smoke back in through the fan through a charcoal filter. There are also smaller extractors for small projects or when you are doing small, on-site work. Adding an air purifier wouldn’t hurt either. My husband bought some during the pandemic and we still use them today.
For more safety tips like safe versus unsafe woods, gear and the like, check out these resources:
Here’s to some burning hot activations this season! 🥂


