
DIY Glass Etching Your Hand-Lettering With the Cricut Joy
It’s one year later...
…and there’s a special event in my life that I need to commemorate. I had plans to give the whole glass etching with Cricut a run-through in the hopes of perfecting it before the girl and I left for an unexpected, very long stay at the local children’s hospital. But, that didn’t happen. I also didn’t get to try it out yesterday either since I sat in on some parent conferences from home. Note: Glass etching with a chemical shown below is not to be confused with glass engraving using a micro drill.
But, today was the day.
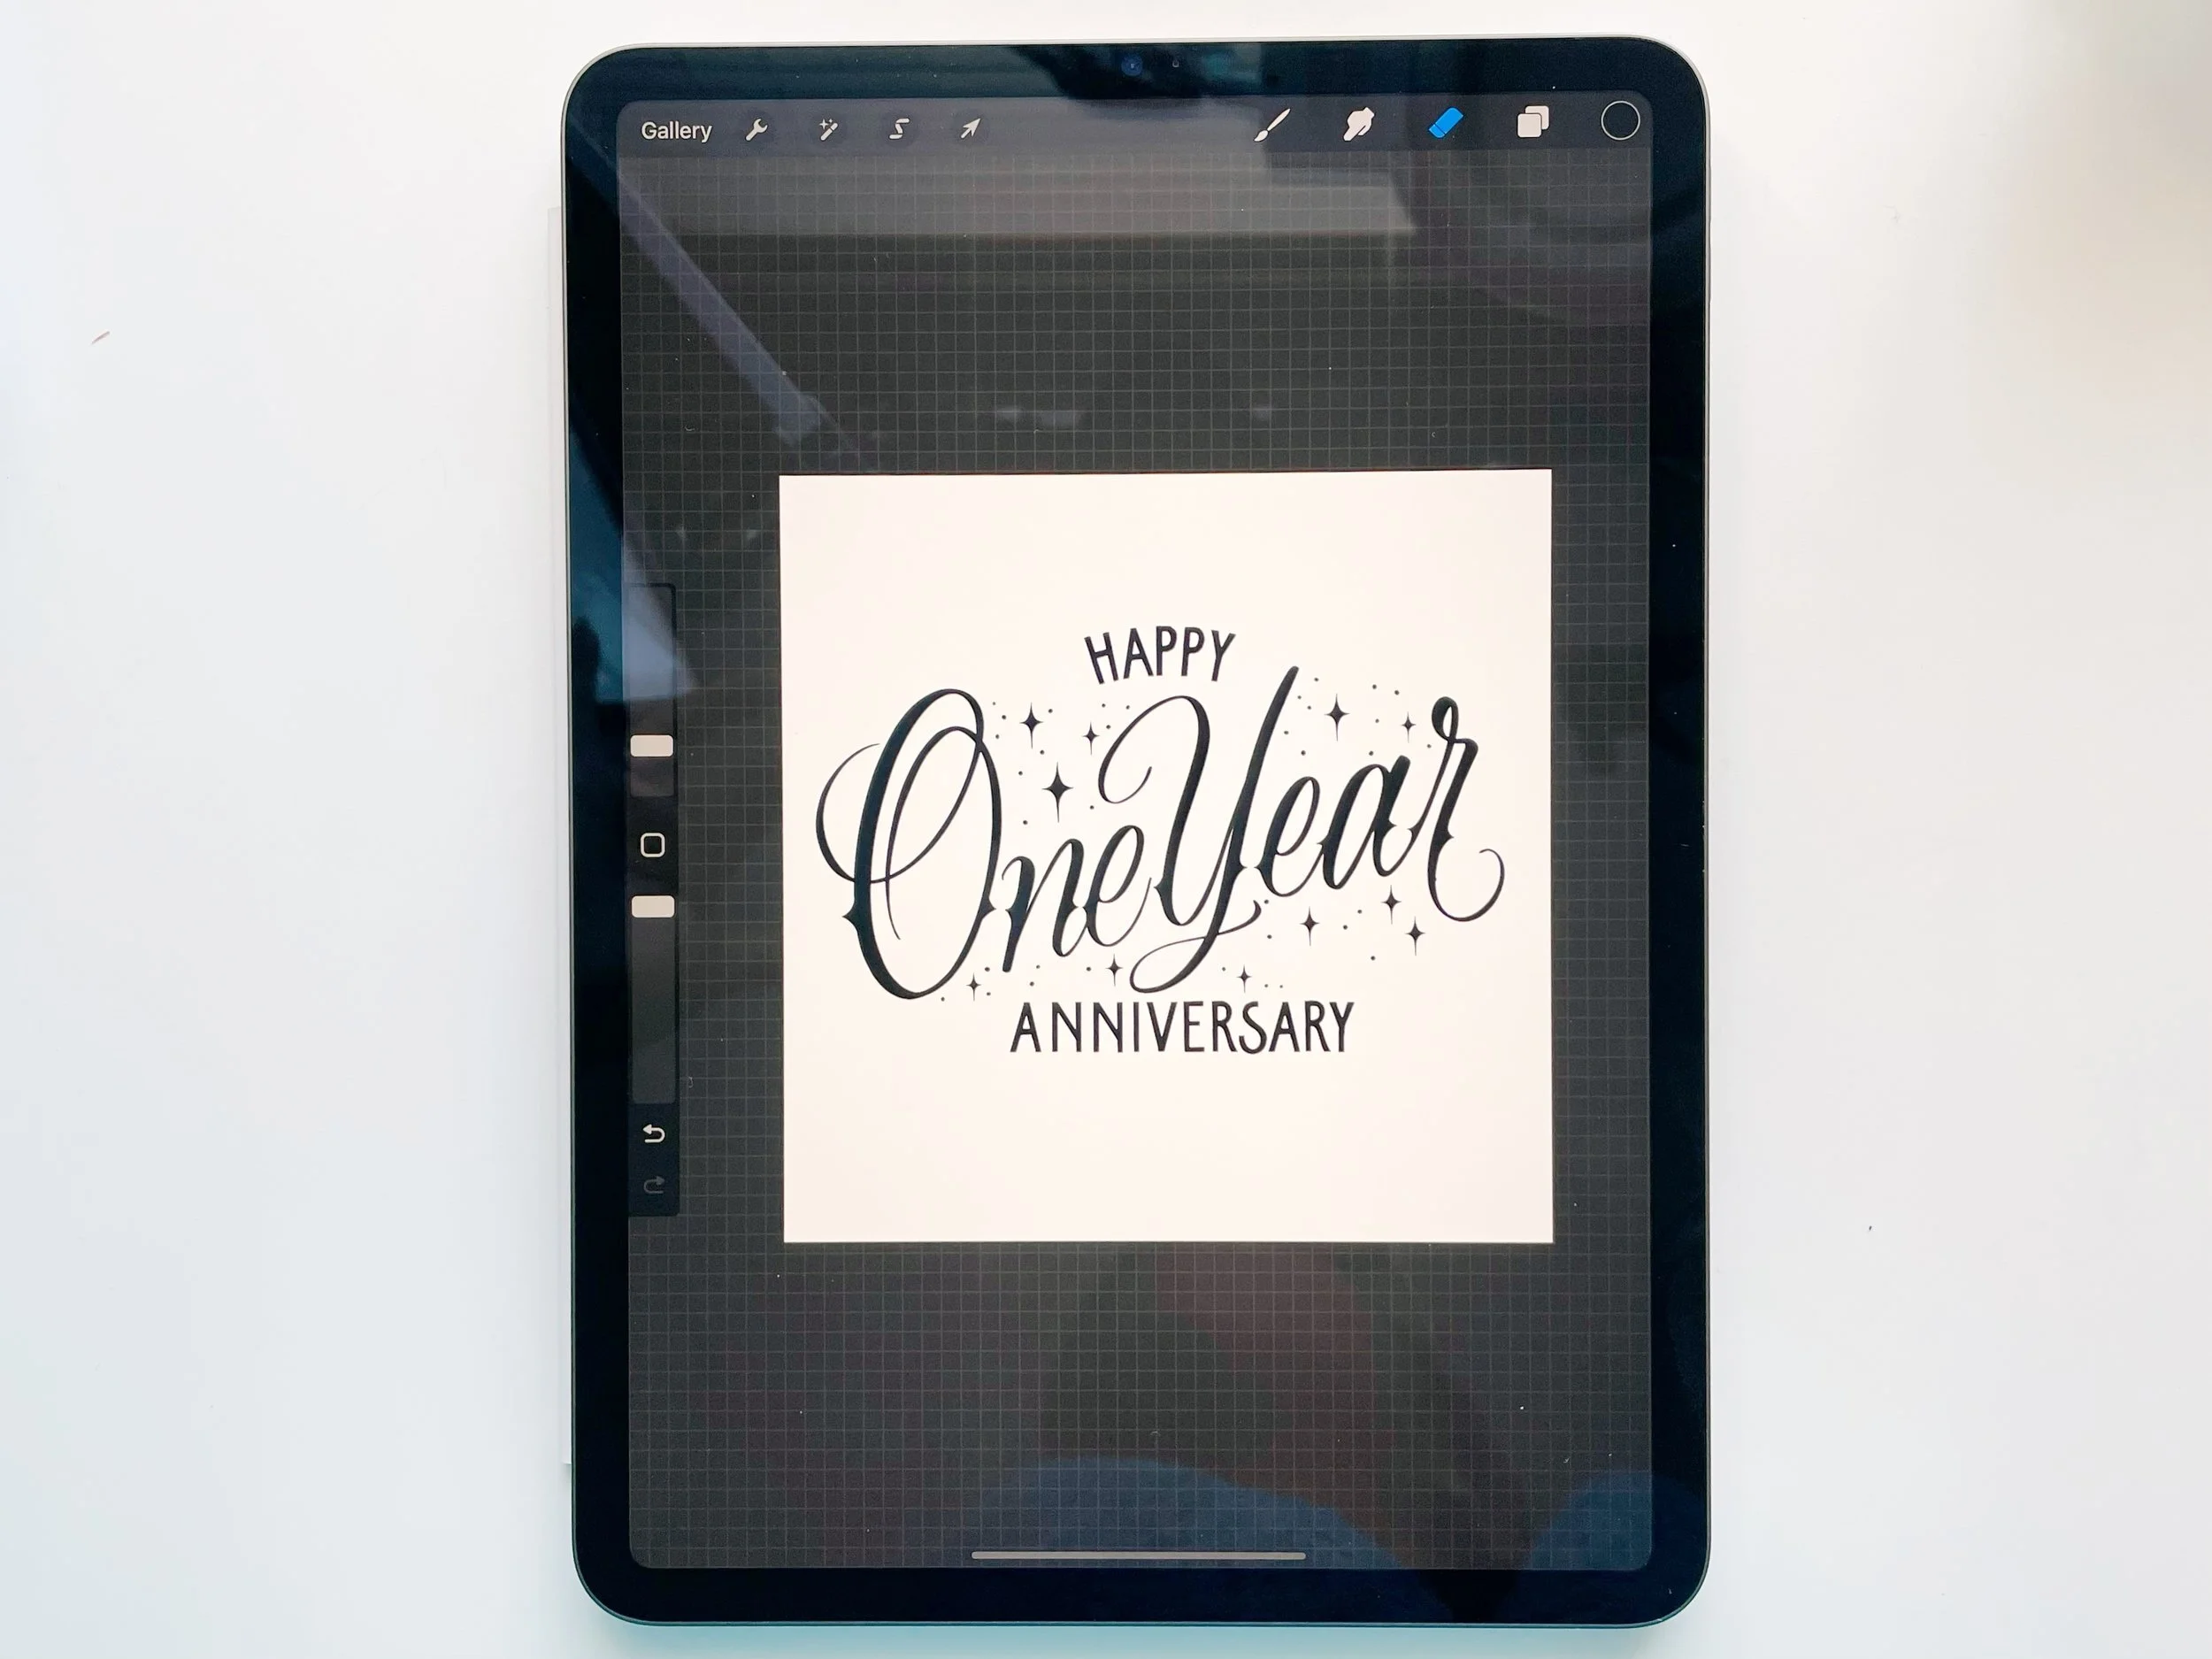
Last night, I made this sketch and then traced and filled it in Procreate.
I already knew this sketch would likely have problems in my etching based on the tutorials I had been glancing at for a while. But, I liked it and I’m ornery so…let’s see how it went anyway, shall we?
In short, glass etching with a Cricut involves using what is normally considered to be the negative of your image as a stencil. I exported the Procreate sketch without the background to my Photos app and then uploaded it in Cricut Design Space on my iPad. I used the Cricut Joy to cut this design into some Removable Smart Vinyl.

Then, I weeded the words out, keeping the rest of the cut.

Once weeded, the design is transferred with transfer tape and carefully applied to the glass…Well, as carefully as possible. Then, you tape it down. It’s pretty important to get the image onto the surface properly and as “flat” as you can. I don’t think I did a great job of that…Trying this on a rounded surface for the first time might not have been the best idea. But, by this time, I was invested.


See those areas where there are wrinkles in the vinyl? When the etching cream goes on, those are areas that the cream could get into, ruining your lettering. So, be careful with that part.
But, once the design is taped down, an etching solution is applied (with a lot of precautions to protect your eyes, skin and clothing). There is a short wait, depending on the solution you use. I used an etching solution by a brand called Plaid. I got it from Michaels. There's a more popular, faster etching cream called Armour Etch. But, I didn't see this one at my local store. If you're somewhat impatient like myself and you can find it, I'd go for that one instead.

This particular cream looks a little like ear wax (🤮 ) and it takes about 15 minutes from the time it’s applied.


When the time is up, you remove the solution (this one removes with running water), as well as any items used to adhere the stencil to the glass, revealing the etching.
For my first try, this wasn’t so bad. But, I have a few things to work on for my next etching on a rounded glass surface such as this one.
Beware of dangerous curves! Keep the design fairly small to avoid the headache. If it must be larger, try etching it in smaller pieces.
Try to keep the intricacies to a minimum. Hairlines are tricky.
While the design should be fairly small, mind the size of the actual letters. Keep ing the counters and other details in smaller letters during the cutting process doesn’t always work out the way you might want it. Larger letters work out better for keeping those details in place.
All in all, playing Cricut scientist was a great way to spend the day after my anniversary.
Would you try Cricut glass etching?
